
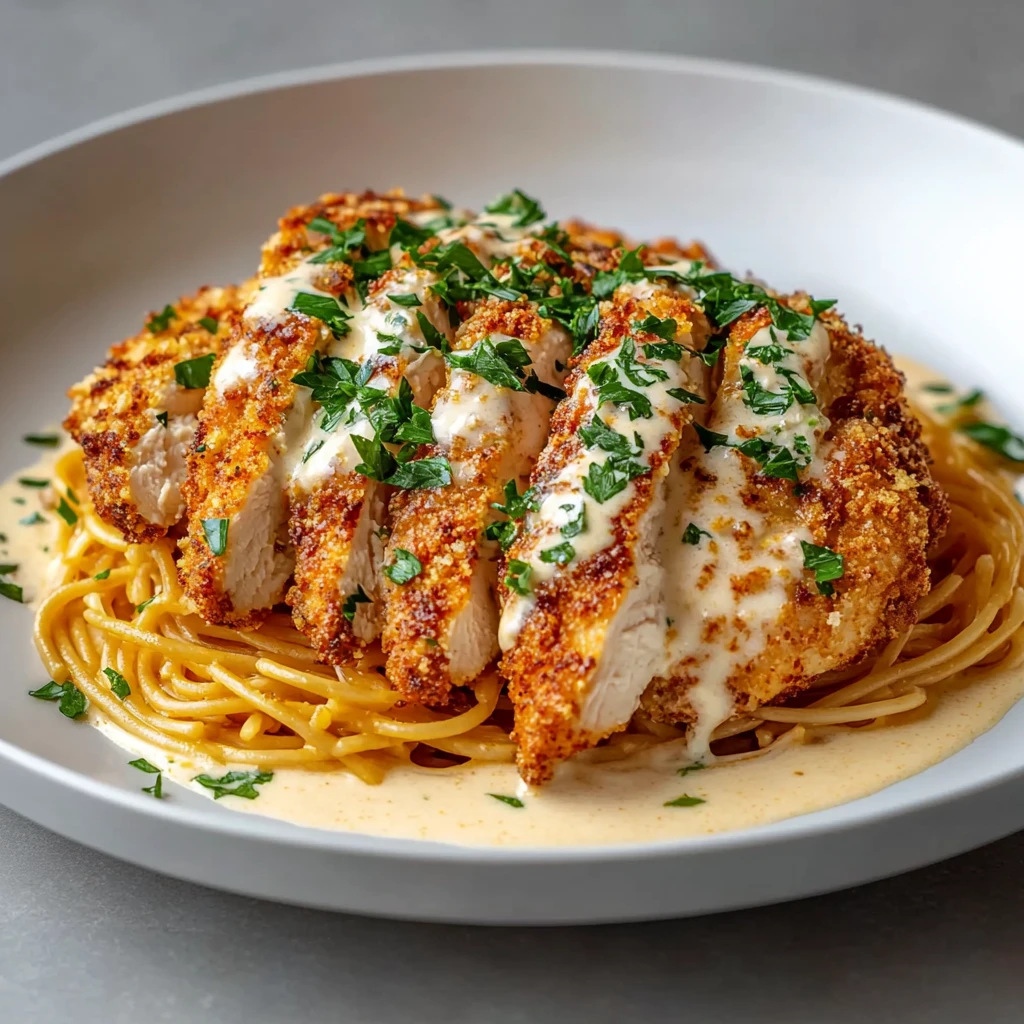
Introduction to Chicken Romano
Chicken Romano is a delectable classic that represents the best of Italian-American cuisine. This dish features tender chicken breasts, pan-fried until golden and covered with a crispy, cheesy breadcrumb coating, offering a delightful crunch in every bite. With the rich taste of Romano cheese and the zest of lemon butter sauce, Chicken Romano creates a flavor profile that’s both comforting and impressive, making it perfect for family dinners or special occasions.
Why will you love this Chicken Romano recipe? Well, it’s not just about the crispy texture and cheesy flavor; it’s also about the harmony of ingredients that come together to create a delicious meal. Whether served with a side of pasta or a fresh salad, Chicken Romano is bound to be a hit at your dinner table. If you’re looking for an easy yet scrumptious dish that will please everyone, look no further than this delightful Chicken Romano!
Table of Contents
Ingredients for Chicken Romano
To create the perfect Chicken Romano, you’ll need some key ingredients that blend together beautifully to deliver irresistible flavors. Here’s what you’ll need:
- 2 large boneless skinless chicken breasts
- 1 cup grated Romano cheese
- 1 cup Italian-style breadcrumbs
- ½ cup all-purpose flour
- 2 large eggs
- 2 tbsp milk
- 1 tsp garlic powder
- ½ tsp black pepper
- 2 tbsp olive oil
- 2 tbsp butter
For the Lemon Butter Sauce, gather these ingredients:
- 3 tbsp butter
- 2 cloves garlic, minced
- ½ cup chicken broth
- 2 tbsp lemon juice
- 1 tbsp chopped fresh parsley
Preparation Steps
Step 1: Prepare Chicken
Begin by slicing the chicken breasts in half lengthwise. This technique not only helps them cook evenly but also ensures a delightful texture. Once sliced, use a meat mallet to pound the chicken lightly until it’s uniform in thickness. Aim for about half an inch thick, which will help achieve that tender juicy interior.
Step 2: Set Up Coating Stations
Next, it’s time to set up your three bowls for an efficient coating process. In one bowl, add the all-purpose flour. In a second bowl, whisk together the eggs and milk until well combined. Finally, in a third bowl, mix the grated Romano cheese, Italian-style breadcrumbs, garlic powder, and black pepper. This assembly line-style approach will make breading the chicken a breeze!
Step 3: Bread Chicken
Now comes the fun part—dredging the chicken! Start by taking a piece of chicken and coating it in flour, shaking off any excess. Next, dip it into the egg mixture, ensuring it’s well-coated, and then press it firmly into the Romano breadcrumb mixture, allowing the delicious crumbs to adhere well. Repeat this process for all chicken pieces, ensuring they are evenly coated for a perfect crispy layer.
Cooking Chicken Romano
Step 4: Cook Chicken
Heat a large skillet over medium heat and add the olive oil and butter, allowing them to combine and heat until shimmering. Carefully place the breaded chicken pieces in the skillet without overcrowding. Cook for about 4 to 5 minutes on each side until they turn a beautiful golden brown and are fully cooked through. The key is to resist the urge to flip them too soon—let that delicious crust form!
Making the Lemon Butter Sauce
Step 5: Make Sauce
In the same skillet after you’ve cooked the chicken, melt three tablespoons of butter over medium heat. Add the minced garlic and sauté for about a minute, stirring frequently until it’s fragrant. Then, pour in the chicken broth and lemon juice, bringing the mixture to a gentle simmer. Let the sauce reduce slightly for 2 to 3 minutes, enhancing the flavors and creating a delightful, tangy finish for your Chicken Romano.
Serving Suggestions
Step 6: Finish & Serve
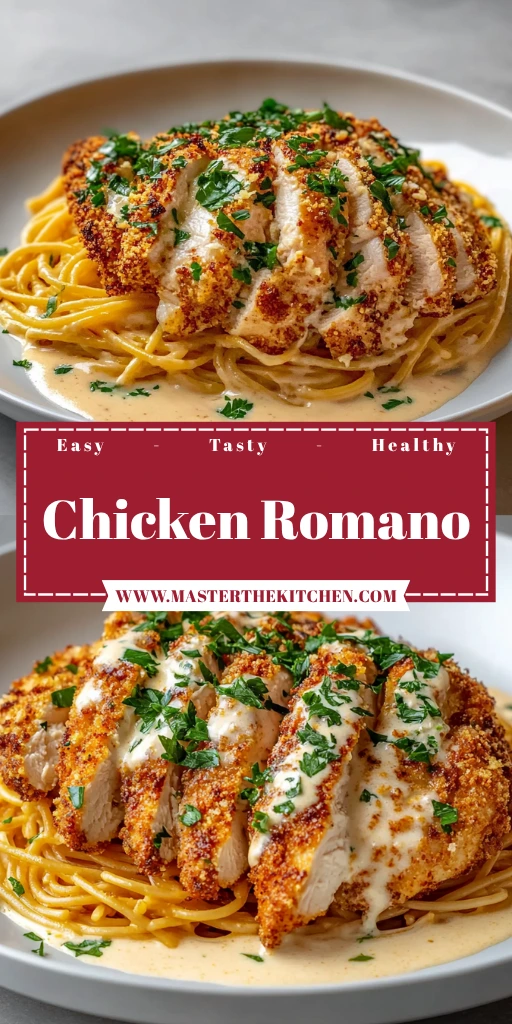
Carefully plate each piece of Chicken Romano and drizzle the luscious lemon butter sauce generously over the top. Garnish with freshly chopped parsley for a touch of color and freshness. This delightful Chicken Romano is not just a feast for the taste buds but a treat for the eyes as well! Consider serving it alongside a simple arugula salad with lemon vinaigrette, garlic mashed potatoes, or even roasted vegetables for a well-rounded meal.
Pairing Suggestions
For a refreshing contrast, you can serve Chicken Romano with a light arugula salad featuring a zesty lemon vinaigrette. Comforting sides like garlic mashed potatoes or roasted seasonal vegetables pair beautifully too! Looking for something lighter? Try steaming asparagus or sautéing green beans. A delightful pasta tossed in olive oil and herbs will complement the Italian flavors perfectly.
Tips for Perfecting Chicken Romano
Tips for Best Results
To achieve the crispiest coating on your Chicken Romano, make sure your oil is hot enough before adding the chicken; this helps seal in the juices while creating a crunchy exterior. Don’t skip seasoning the chicken well, as it adds depth to the overall flavor. A thermometer can be particularly useful—a reading of 165°F ensures the chicken is done without being overcooked.
Common Mistakes to Avoid
When preparing Chicken Romano, be careful not to overcrowd the skillet while cooking, as this can lead to uneven cooking and sogginess. Additionally, not properly seasoning the chicken can result in bland flavors. Make sure to take your time with the breading process; allowing the crumbs to stick well is key to maximizing crunch!
FAQs about Chicken Romano
What is the best way to store leftover Chicken Romano?
To store leftover Chicken Romano, allow it to cool to room temperature before placing it in an airtight container. Make sure to separate the chicken from the lemon butter sauce to prevent the coating from becoming soggy. Store it in the refrigerator for up to 3-4 days. If you want to keep it longer, consider freezing the chicken without the sauce. Wrap it tightly in plastic wrap and then place it in a freezer-safe bag for up to 2 months. When you’re ready to eat, thaw it overnight in the refrigerator and reheat in the oven to restore its crispiness.
Can Chicken Romano be made gluten-free?
Yes, Chicken Romano can be made gluten-free! Substitute regular all-purpose flour with a gluten-free flour blend, and use gluten-free breadcrumbs instead of Italian-style breadcrumbs. Make sure to check that all ingredients, including the chicken broth, are gluten-free. The recipe will maintain its delicious flavor and texture while accommodating gluten-sensitive diets.
How can I enhance the flavor of Chicken Romano?
To enhance the flavor of Chicken Romano, consider marinating the chicken in a mixture of olive oil, lemon juice, garlic, and herbs (like rosemary or thyme) for at least 30 minutes before cooking. Additionally, you can add spices such as paprika or cayenne pepper to the breadcrumb mixture for a hint of heat. Serving the dish with a sprinkle of freshly grated cheese and a squeeze of lemon juice just before serving can also elevate the dish’s flavor profile.
What side dishes pair well with Chicken Romano?
Chicken Romano pairs well with a variety of side dishes. A simple arugula salad with a lemon vinaigrette adds a refreshing contrast to the rich flavors of the dish. Garlic mashed potatoes or roasted vegetables are also excellent choices, as they provide a comforting balance. For a lighter option, consider serving it with steamed asparagus or sautéed green beans. Additionally, a side of pasta tossed with olive oil and herbs can complement the Italian flavors beautifully.
Conclusion
In summary, Chicken Romano is a delightful dish that highlights the heartwarming flavors of Italian-American cooking. The combination of crispy, cheesy chicken and rich lemon butter sauce makes it a crowd-pleaser at any dining table. We encourage you to try this Chicken Romano recipe for your next family dinner; the comforting flavors and easy preparation are sure to impress everyone sitting at your table.
More Related Recipes You Might Enjoy
- Creamy Sun-Dried Tomato Chicken Orzo
- Chicken Bacon Ranch Potato Skillet
- Crock Pot Birria Tacos
- Creamy Garlic Butter Bacon Pasta
Looking for more visual inspiration? Follow me on Pinterest, where I share new recipes, dinner tips, and behind-the-scenes kitchen moments every week. Buon appetito!
Print
Experience the Best Chicken Romano Recipe for Dinner Tonight!
- Total Time: 35 minutes
- Yield: 4 servings 1x
Description
Chicken Romano is a delectable classic that represents the best of Italian-American cuisine. This dish features tender chicken breasts, pan-fried until golden and covered with a crispy, cheesy breadcrumb coating, offering a delightful crunch in every bite. With the rich taste of Romano cheese and the zest of lemon butter sauce, Chicken Romano creates a flavor profile that’s both comforting and impressive, making it perfect for family dinners or special occasions.
Ingredients
- 2 large boneless skinless chicken breasts
- 1 cup grated Romano cheese
- 1 cup Italian-style breadcrumbs
- 1/2 cup all-purpose flour
- 2 large eggs
- 2 tablespoon milk
- 1 teaspoon garlic powder
- 1/2 teaspoon black pepper
- 2 tablespoon olive oil
- 2 tablespoon butter
- 3 tablespoon butter (for sauce)
- 2 cloves garlic, minced
- 1/2 cup chicken broth
- 2 tablespoon lemon juice
- 1 tablespoon chopped fresh parsley
Instructions
Step 1: Prepare Chicken
Begin by slicing the chicken breasts in half lengthwise. This technique not only helps them cook evenly but also ensures a delightful texture. Once sliced, use a meat mallet to pound the chicken lightly until it’s uniform in thickness. Aim for about half an inch thick, which will help achieve that tender juicy interior.
Step 2: Set Up Coating Stations
Next, it’s time to set up your three bowls for an efficient coating process. In one bowl, add the all-purpose flour. In a second bowl, whisk together the eggs and milk until well combined. Finally, in a third bowl, mix the grated Romano cheese, Italian-style breadcrumbs, garlic powder, and black pepper. This assembly line-style approach will make breading the chicken a breeze!
Step 3: Bread Chicken
Now comes the fun part—dredging the chicken! Start by taking a piece of chicken and coating it in flour, shaking off any excess. Next, dip it into the egg mixture, ensuring it’s well-coated, and then press it firmly into the Romano breadcrumb mixture, allowing the delicious crumbs to adhere well. Repeat this process for all chicken pieces, ensuring they are evenly coated for a perfect crispy layer.
Step 4: Cook Chicken
8. Heat a large skillet over medium heat and add the olive oil and butter, allowing them to combine and heat until shimmering. Carefully place the breaded chicken pieces in the skillet without overcrowding. Cook for about 4 to 5 minutes on each side until they turn a beautiful golden brown and are fully cooked through. The key is to resist the urge to flip them too soon—let that delicious crust form!
Step 5: Make Sauce
In the same skillet after you’ve cooked the chicken, melt three tablespoon of butter over medium heat. Add the minced garlic and sauté for about a minute, stirring frequently until it’s fragrant. Then, pour in the chicken broth and lemon juice, bringing the mixture to a gentle simmer. Let the sauce reduce slightly for 2 to 3 minutes, enhancing the flavors and creating a delightful, tangy finish for your Chicken Romano.
Step 6: Finish & Serve
Carefully plate each piece of Chicken Romano and drizzle the luscious lemon butter sauce generously over the top. Garnish with freshly chopped parsley for a touch of color and freshness. This delightful Chicken Romano is not just a feast for the taste buds but a treat for the eyes as well!
Notes
To achieve the crispiest coating on your Chicken Romano, make sure your oil is hot enough before adding the chicken; this helps seal in the juices while creating a crunchy exterior. Don’t skip seasoning the chicken well, as it adds depth to the overall flavor.
- Prep Time: 15 minutes
- Cook Time: 20 minutes
- Category: Main Course
- Method: Pan-fried
- Cuisine: Italian-American
Nutrition
- Serving Size: 1 piece
- Calories: 400
- Sugar: 1g
- Sodium: 600mg
- Fat: 25g
- Saturated Fat: 10g
- Unsaturated Fat: 12g
- Trans Fat: 0g
- Carbohydrates: 30g
- Fiber: 1g
- Protein: 30g
- Cholesterol: 150mg