

There’s nothing quite like the warm, comforting aroma of a freshly baked apple pie wafting through the kitchen. The classic combination of a buttery, flaky crust and a sweet, spiced apple filling is a timeless dessert that brings people together. Making your own homemade apple pie from scratch may seem daunting, but with the right techniques and a little patience, you can create a masterpiece that will have your family and friends raving.
Table of Contents
The Irresistible Allure of Classic Homemade Apple Pie
Apple pie has long been a beloved American tradition, with roots tracing back to the 17th century when Dutch settlers brought their recipe for “appeltaart” to the New World. Over the centuries, this humble dessert has become a symbol of home, family, and pure comfort. There’s just something magical about biting into a slice of piping hot apple pie, with the juices mingling with the buttery crust and the perfect balance of sweetness and spice.
What sets a homemade apple pie apart from its store-bought counterparts is the love and attention that goes into every step of the process. From the flaky, golden-brown crust to the perfectly cooked, fragrant filling, a homemade pie showcases the baker’s skill and passion. It’s a labor of love that can be shared and enjoyed with loved ones, creating cherished memories and traditions.
Essential Ingredients for Classic Homemade Apple Pie
To create the quintessential classic homemade apple pie, you’ll need a few essential ingredients:
For the Pie Crust:
- 2 ½ cups all-purpose flour
- 2 tablespoons sugar
- ½ teaspoon salt
- 1 cup unsalted butter (very cold, sliced)
- 3 tablespoons sour cream (very cold)
- ½ cup ice-cold water
For the Apple Filling:
- 3 tablespoons all-purpose flour
- ¾ cup sugar
- Juice and zest of 1 lemon
- ¼ teaspoon salt
- ¼ teaspoon nutmeg
- ½ teaspoon cloves
- 2 teaspoons cinnamon
- ¼ teaspoon allspice
- 3 pounds apples (about 7 medium-sized, peeled and sliced)
- 1 egg
- ½ teaspoon water
Preparing the Perfect Pie Crust
The foundation of a great apple pie is the crust, and making it from scratch is well worth the effort. Start by whisking together the flour, sugar, and salt in a large bowl. Cut in the very cold butter until the mixture resembles coarse crumbs with pea-sized pieces. This step is crucial for achieving a flaky, tender crust.
Next, mix the sour cream with 1-2 tablespoons of ice-cold water and gradually add it to the flour mixture, gently mixing until the dough comes together. Be careful not to overwork the dough, as this can result in a tough crust. Divide the dough in half, wrap each piece in plastic, and refrigerate for at least 30 minutes (or up to 3 days) to allow the gluten to relax and the butter to firm up.
When you’re ready to assemble the pie, roll out one of the dough halves to a 12-inch diameter and carefully transfer it to a 9-inch pie dish. Trim the excess dough, leaving about an inch of overhang. This will allow you to flute the edges and create a beautiful, professional-looking crust.
Crafting the Delicious Apple Filling
For the perfect apple filling, choose a combination of tart and sweet apples, such as Granny Smith and Honeycrisp. Peel, core, and slice the apples, aiming for a mix of ⅓-inch and ¼-inch thick slices. This will create a filling with both texture and depth of flavor.
In a large bowl, toss the apple slices with the flour, sugar, lemon juice and zest, salt, and a blend of warm spices like nutmeg, cloves, cinnamon, and allspice. The flour helps to thicken the juices, while the lemon adds a bright, tangy note that balances the sweetness. Allowing the apple mixture to sit for a few minutes allows the flavors to meld together before assembling the pie.
Assembling the Apple Pie
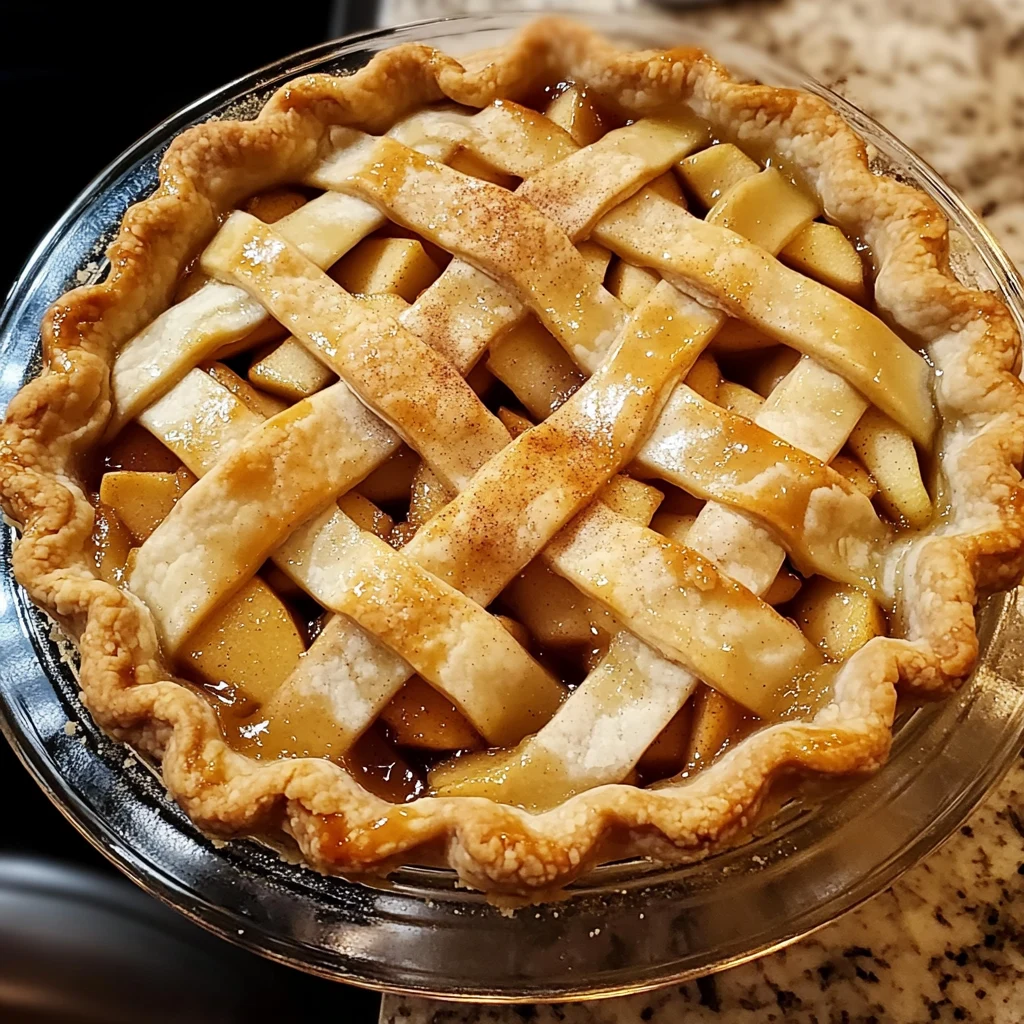
Once you have your perfectly chilled pie dough and flavorful apple filling, it’s time to assemble the pie. Gently transfer the apple mixture to the prepared bottom crust, mounding it slightly in the center. Roll out the remaining dough half and carefully place it over the filling. Trim the excess dough, leaving about an inch of overhang, and tuck the top crust under the bottom crust, pressing to seal. Crimp the edges with a fork or your fingers to create a decorative pattern.
To add the finishing touches, whisk together the egg and water to create an egg wash. Brush the top crust with the egg wash and sprinkle with a bit of sugar for a beautiful, golden-brown shine. Finally, cut four small vents in the top crust to allow steam to escape during baking.
Baking Your Apple Pie to Perfection
Preheat your oven to 425°F (220°C) and place a baking sheet on the lower rack to catch any drips. This will help ensure even baking and prevent a soggy bottom crust.
Bake the pie for 25 minutes at the higher temperature, then reduce the heat to 375°F (190°C) and continue baking for an additional 35 minutes, or until the crust is golden brown and the filling is bubbling. Keep an eye on the pie and cover it with foil if the crust is browning too quickly.
The key to a perfectly baked apple pie is allowing it to cool completely before serving. This helps the filling set and prevents a runny, messy slice. Once the pie has cooled, it’s time to dig in and enjoy the fruits of your labor!
Serving and Storing Your Classic Homemade Apple Pie
Classic homemade apple pie is delicious on its own, but it’s even better when served warm with a scoop of vanilla ice cream or a dollop of freshly whipped cream. The contrast of the hot, spiced filling and the cool, creamy topping is simply divine.
If you have any leftovers, store the pie at room temperature, loosely covered, for up to 3 days. For longer storage, you can refrigerate the pie for up to 5 days. To reheat, simply place the pie in a 350°F (175°C) oven for 10-15 minutes until warmed through.
FAQs About Classic Homemade Apple Pie
How can I enhance the flavor of my apple pie filling?
To enhance the flavor of your apple pie filling, consider adding additional spices such as ginger or cardamom for a unique twist. You can also incorporate a splash of bourbon or vanilla extract to deepen the flavor profile. Experimenting with different types of apples can also make a significant difference; for instance, combining tart apples like Granny Smith with sweeter varieties like Honeycrisp creates a more balanced filling. Lastly, letting the apple mixture sit for a while after adding the sugar and spices allows the flavors to meld together for a richer taste.
What should I do if my pie crust is too crumbly?
If your pie crust is too crumbly, it may be due to insufficient moisture or overworking the dough. To fix it, try adding a tablespoon of ice-cold water at a time while gently kneading the dough until it comes together. If you’ve already rolled it out and find it crumbly, you can patch it by taking small pieces of dough and pressing them into the cracks. Remember to handle the dough minimally to avoid activating the gluten, which can lead to toughness.
Can I use alternative sweeteners in my apple pie filling?
Yes, you can use alternative sweeteners in your apple pie filling! Options like honey, maple syrup, or agave nectar can be used instead of granulated sugar. Keep in mind that these sweeteners may alter the texture and flavor slightly, so adjust the quantity according to your taste. If using liquid sweeteners, you may want to reduce the amount of other liquids in the filling to maintain the right consistency. Additionally, consider using stevia or erythritol for a low-calorie option, adjusting the amount according to the product’s sweetness level.
How do I prevent my apple pie from overcooking on the edges while the center remains undercooked?
To prevent your apple pie from overcooking on the edges while the center remains undercooked, use a pie shield or aluminum foil to cover the edges of the pie crust about halfway through the baking process. This will protect the crust from direct heat and prevent it from browning too quickly. Additionally, ensure that your oven is properly calibrated and consider placing the pie on a lower rack to allow for more even baking. If you’re using a glass pie dish, keep an eye on the pie; glass conducts heat differently and may bake faster.
More Related Recipes You Might Enjoy
– Homemade Southern Peach Pie
– Spiced Peach Bread
– Peach Pecan Bread
Enjoy this classic homemade apple pie with its buttery flaky crust and warm, spiced apple filling — perfect for any occasion. Serve warm with ice cream or whipped cream for extra indulgence.
Looking for more visual inspiration? Follow me on Pinterest, where I share new recipes, dinner tips, and behind-the-scenes kitchen moments every week. Buon appetito!
Print
Discover the Joy of Classic Homemade Apple Pie Today!
- Total Time: 1 hour 30 minutes
- Yield: 8 servings 1x
- Diet: Vegetarian
Description
Classic homemade apple pie with a buttery, flaky crust and a sweet, spiced apple filling.
Ingredients
- 2 1/2 cup all-purpose flour
- 2 tablespoon sugar
- 1/2 teaspoon salt
- 1 cup unsalted butter (very cold, sliced)
- 3 tablespoon sour cream (very cold)
- 1/2 cup ice-cold water
- 3 tablespoon all-purpose flour
- 3/4 cup sugar
- Juice and zest of 1 lemon
- 1/4 teaspoon salt
- 1/4 teaspoon nutmeg
- 1/2 teaspoon cloves
- 2 teaspoon cinnamon
- 1/4 teaspoon allspice
- 3 pound apples (about 7 medium-sized, peeled and sliced)
- 1 egg
- 1/2 teaspoon water
Instructions
1. Whisk together the flour, sugar, and salt in a large bowl.
2. Cut in the very cold butter until the mixture resembles coarse crumbs with pea-sized pieces.
3. Mix the sour cream with 1-2 tablespoon of ice-cold water and gradually add it to the flour mixture, gently mixing until the dough comes together.
4. Divide the dough in half, wrap each piece in plastic, and refrigerate for at least 30 minutes.
5. Roll out one of the dough halves to a 12-inch diameter and transfer it to a 9-inch pie dish.
6. Trim the excess dough, leaving about an inch of overhang.
7. Toss the apple slices with the flour, sugar, lemon juice and zest, salt, and spices.
8. Transfer the apple mixture to the prepared bottom crust, mounding it slightly in the center.
9. Roll out the remaining dough half and place it over the filling, trimming excess dough.
10. Tuck the top crust under the bottom crust and crimp the edges to seal.
11. Whisk together the egg and water for an egg wash, brush on top crust, and sprinkle with sugar.
12. Cut four small vents in the top crust.
13. Preheat oven to 425°F and bake for 25 minutes.
14. Reduce heat to 375°F and continue baking for an additional 35 minutes or until golden brown.
Notes
Serve warm with vanilla ice cream or whipped cream. Store leftovers at room temperature for up to 3 days or refrigerate for up to 5 days.
- Prep Time: 30 minutes
- Cook Time: 1 hour
- Category: Dessert
- Method: Baking
- Cuisine: American
Nutrition
- Serving Size: 1 slice
- Calories: 300
- Sugar: 20g
- Sodium: 150mg
- Fat: 15g
- Saturated Fat: 10g
- Unsaturated Fat: 5g
- Trans Fat: 0g
- Carbohydrates: 40g
- Fiber: 3g
- Protein: 2g
- Cholesterol: 40mg